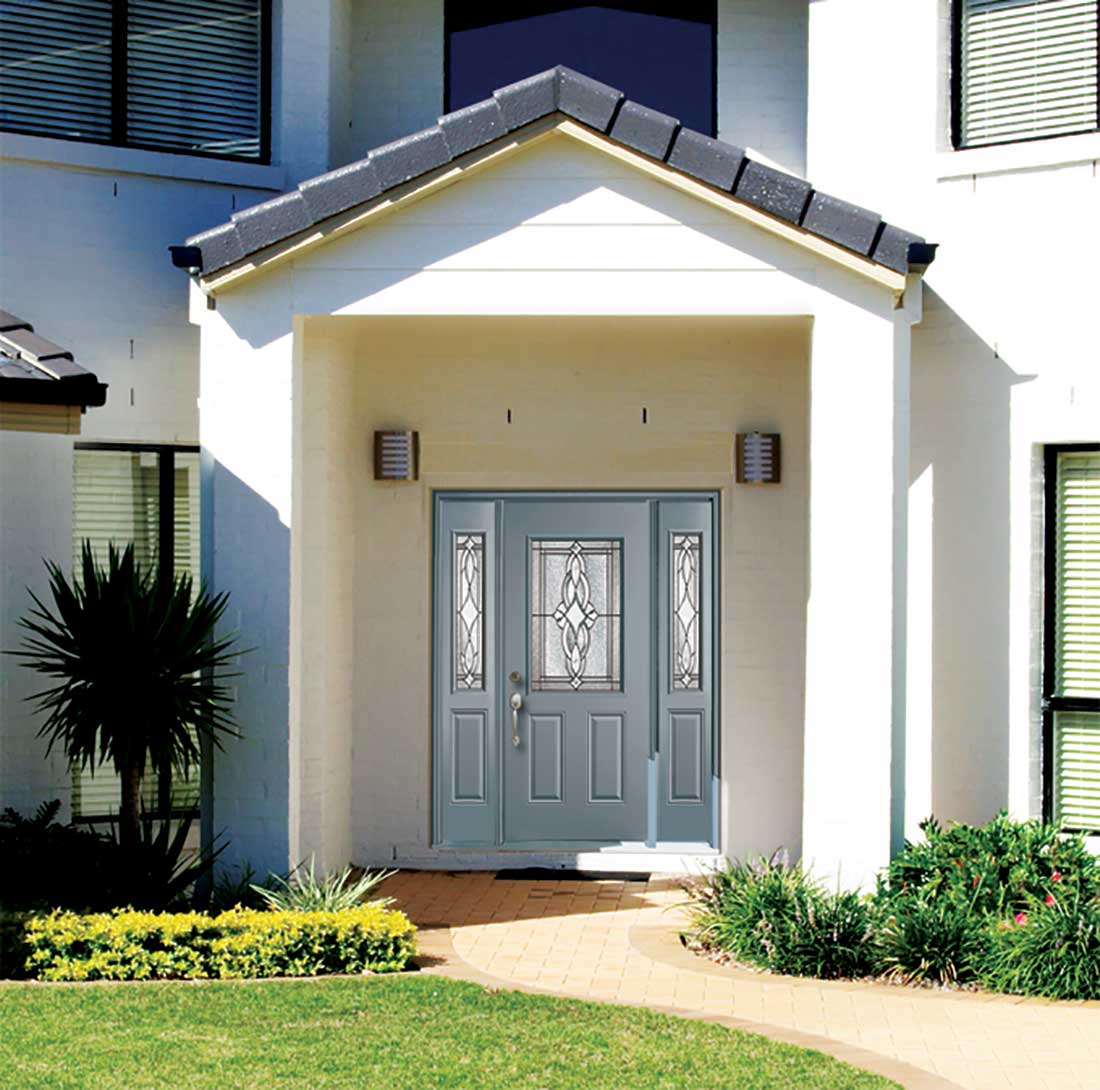
Replacing or installing an interior door can dramatically change the look and feel of a room, providing both function and style. Door installation may seem like a daunting task for beginners, therefore, it is best to hire a professional to ensure a seamless and proper outcome.
Installing an interior door has many steps. The following are the important key points to note:
This article will walk you through the simple, step-by-step process of how to install an interior door, ensuring a smooth and successful project.
There are several reasons why you might want to take on this task. First, installing an interior door yourself can save you money on labor costs. It also gives you more control over the project, allowing you to choose materials, styles, and finishes that best suit your home. Plus, learning how to install an interior door can be a fun and rewarding DIY project that enhances your skills and confidence.
Before diving into the steps, gather all the necessary tools and materials. Here’s a handy list to get you started:
With your tools ready, let's move on to the easy steps for a successful door installation.
The first step in learning how to install an interior door is measuring the door frame accurately. Use a measuring tape to determine the height, width, and depth of the door frame. Make sure to measure at three points: top, middle, and bottom for width, and left, center, and right for height. This will help ensure your new door fits perfectly.
Now, it’s time to remove the old door. Start by unscrewing the hinges from the door frame using a screwdriver or drill. If the door is stuck, gently tap the hinges with a hammer to loosen them. Lift the door out of the frame and set it aside.
Whether you’ve purchased a pre-hung door (one that comes already attached to a frame) or a slab door (a standalone door without a frame), some preparation is usually required. For a pre-hung door, check that the hinges are properly aligned and secure. For a slab door, you may need to cut holes for the doorknob and hinges.
Now comes the crucial part: fitting the door into the frame. If you are installing a pre-hung door, position it inside the rough opening and make sure it sits flush against the wall. Use a level to ensure that the door frame is straight vertically and horizontally. Insert shims between the door frame and the rough opening to hold it in place.
Once the door is properly aligned and leveled, secure it to the frame using screws. Begin with the top hinge and work your way down. This prevents the door from shifting as you work. Check periodically with the level to ensure the door remains straight.
If the door does not close properly or rubs against the frame, you may need to trim it slightly. Use a saw to remove small amounts from the bottom or sides of the door as needed. Be sure to sand down any rough edges after trimming to prevent splinters or damage.
With the door in place, it's time to install the doorknob and latch. Follow the manufacturer's instructions to attach the hardware securely. Test the door to ensure it opens and closes smoothly and that the latch lines up with the strike plate on the frame.
To complete your door installation, finish the door according to your desired style. You might choose to paint or stain the door to match your home decor. Additionally, fill any visible screw holes with wood putty for a polished look.
Finally, check the door for any needed adjustments. Ensure it swings smoothly and the hardware is firmly in place. Remove any shims sticking out of the frame, and clean up any dust or debris left over from the installation process.
Learning how to install an interior door may seem intimidating at first, but by following these easy steps, you can complete the project efficiently and with confidence. Proper measurement, careful alignment, and attention to detail are key to a successful door installation. Whether you’re upgrading for style, replacing a damaged door, or just looking to improve your DIY skills, installing an interior door can be a highly rewarding experience.
For expert guidance and inspiration, visit Alexandria Home Solutions today. Our team of home improvement professionals is here to assist you with everything from selecting the right materials to mastering installation techniques.
