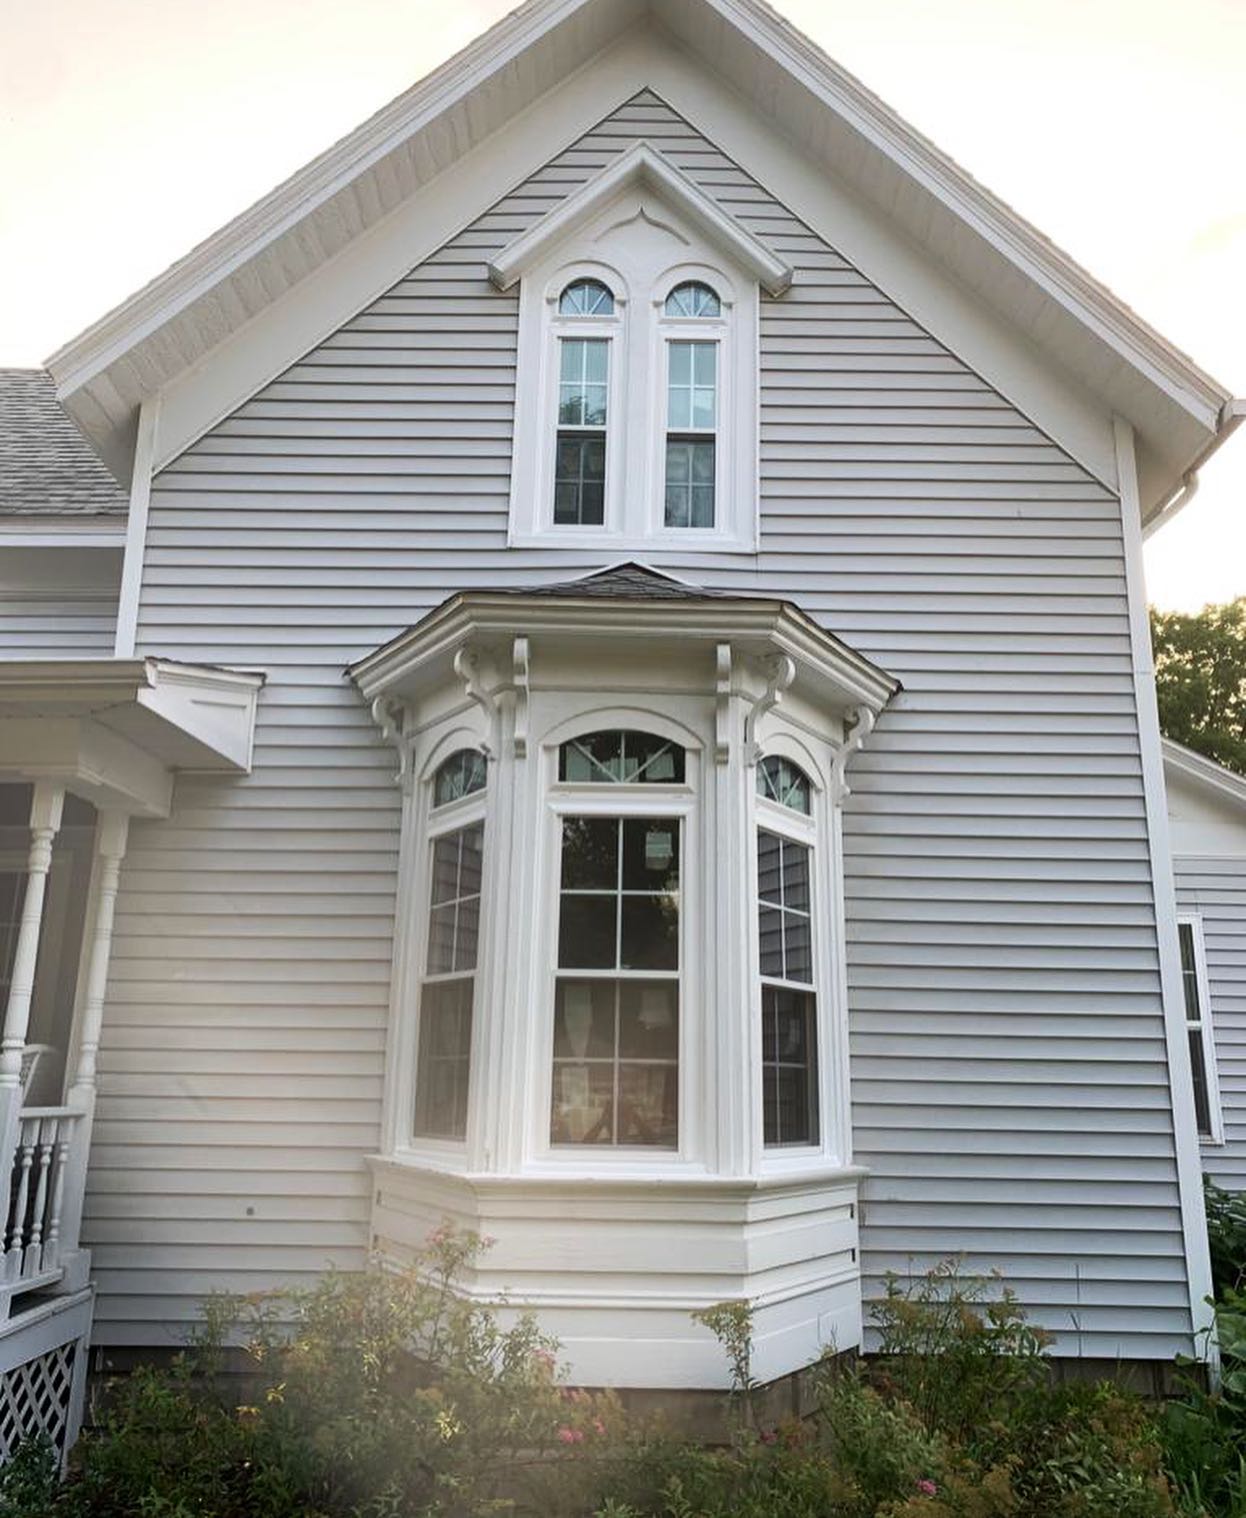
Key Takeaways:
Bay windows are a fantastic addition to any home. They not only add extra light and space but also give a charming, classic look to your house. If you've ever considered installing a bay window, it might seem like a big job. However, with the right tools, instructions, and a bit of patience, it's a project you can take on yourself or with a little help.
This bay window installation guide will walk you through the process, offering tips and steps to ensure a smooth installation.
Before you dive into how to install a bay window, there are a few things you need to prepare. Installing a bay window is not a simple replacement job; it requires structural support and precision.
Tools you'll need:
Materials you'll need:
It's crucial to have all your tools and materials ready before starting. This will save you time and reduce the hassle once you begin the installation.
Accurate measurements are essential when it comes to window installation. Start by measuring the opening where your bay window will go. You want the window to fit perfectly, so take three measurements for width and height: one at the top, one in the middle, and one at the bottom.
Once you've measured, you'll need to remove the old window carefully. Use a pry bar to take off any trim or molding around the window. Be cautious when removing the frame to avoid damaging the surrounding wall or structure.
Before you start the actual bay window installation, you'll need to prep the window opening. Make sure the area is clean and free of debris. Check that the structure is sound and that there's enough support for the new bay window.
Preparing the opening properly ensures the longevity of your bay window and helps prevent drafts or leaks.
Now comes the fun part—installing the actual bay window. Start by carefully lifting the window frame into the opening. This is easier with two people since bay windows can be heavy and awkward to position.
Tip: Take your time during this step. Ensuring the window is level and secure will prevent problems later on, such as crooked glass or improper insulation.
After the window frame is positioned and secured, you need to reinforce the support underneath the window. Bay windows often extend beyond the wall, so they need extra support to hold their weight.
Bracing your bay window properly is essential for both safety and structural integrity.
Once the window is securely installed, you'll want to seal it to prevent any drafts or water from getting in. Use exterior caulk around the edges of the window to create a tight seal. You can also apply insulation around the window frame if needed.
To finish your install bay window project, it's time to add the trim. Both interior and exterior trim not only enhance the window's look but also help seal and protect it.
Adding trim is the final touch to give your bay window a polished, professional appearance.
Before wrapping up your bay window installation guide, make sure to double-check everything:
Taking a few minutes to go over these details will ensure your new bay window lasts for years and performs well.
At Alexandria Home Solutions, we specialize in window installation and can handle everything from measurements to final trim work. Whether you're upgrading your existing windows or installing a brand-new bay window, our team is here to help.
Now that you've got the steps down, are you ready to take on your bay window project? Or would you prefer a pro to handle it for you?
