Key Takeaways:
- Ensure the new door fits perfectly by measuring the door opening and frame.
- Carefully remove the old door, trim, and frame.
- Clean, level, and seal the opening for the new door.
- Position the door, shim for alignment, and secure it to the frame.
- Apply caulk and insulation to prevent drafts and improve energy efficiency.
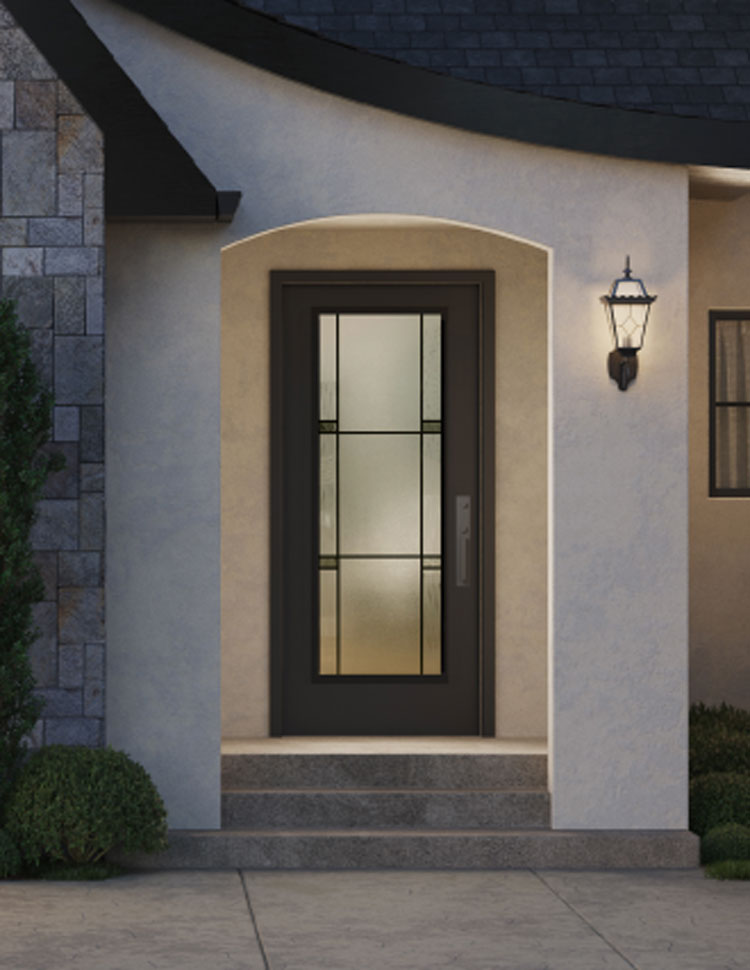
An exterior door serves as both a functional and aesthetic feature of your home. Whether you're looking to upgrade the style, improve energy efficiency, or replace a damaged door, installing or replacing an exterior door is a DIY project that, with the right guidance, can be straightforward and rewarding.
The following key points are to be taken note of when installing or replacing an exterior door:
- Measure the Door
- Prepare Rough Opening
- Seal and Insulate
- Test the door
In this easy step-by-step guide, we’ll walk you through how to install an exterior door and how to replace an exterior door while ensuring a seamless door installation. Let’s get started!
Why Replace or Install a New Exterior Door?
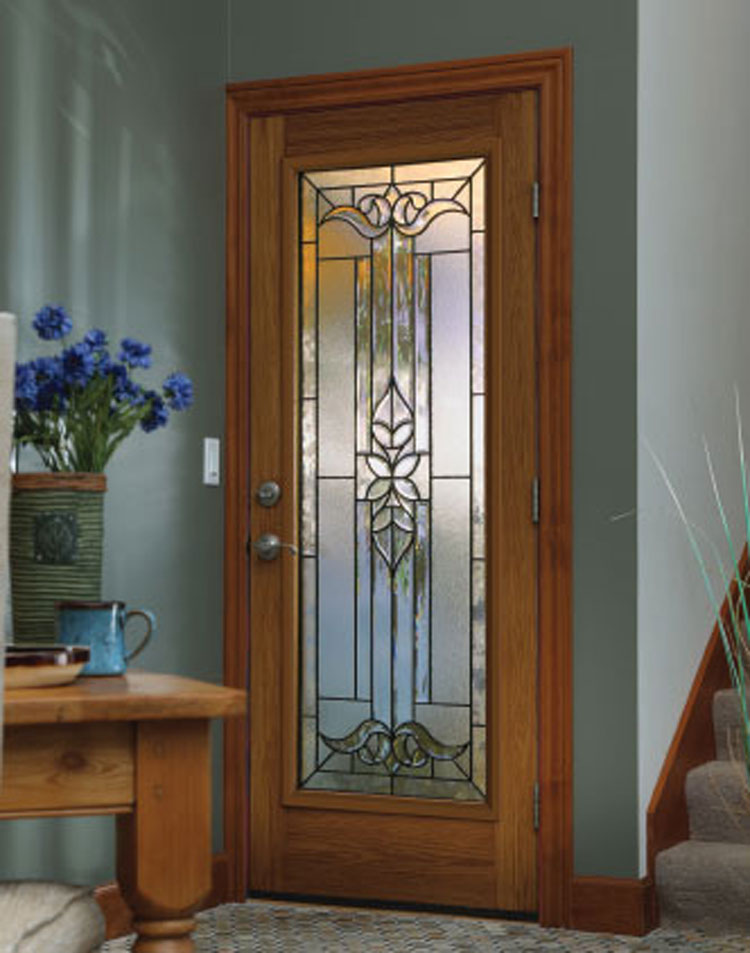
Replacing or installing a new exterior door offers numerous benefits. A new door can improve the curb appeal of your home, increase security, and provide better insulation, which helps in reducing energy costs. Moreover, over time, exterior doors can warp, crack, or simply lose their weatherproofing properties, making replacement essential for maintaining comfort and functionality.
Tools and Materials Needed for Exterior Door Installation
Before jumping into the process of door installation, make sure you have all the necessary tools and materials:
- New exterior door and frame
- Measuring tape
- Hammer
- Screwdriver or drill
- Level
- Pry bar
- Caulk gun and exterior-grade caulk
- Shims
- Wood screws
- Utility knife
- Paint or stain (if needed)
- Insulation foam or weatherstripping
Step 1: Measure the Door Opening
Accurate measurements are essential to ensure a successful installation. Follow these steps to measure the door opening properly:
- Measure the Width and Height: Use a measuring tape to measure the width and height of the existing door opening. Exterior doors typically come in standard sizes, but it’s important to double-check these dimensions before purchasing a new door.
- Check the Rough Opening: Measure the rough opening, which includes the space inside the door frame where the new door will be installed. Ideally, the rough opening should be about ½ inch wider and taller than the door itself to allow for adjustments and shimming.
- Depth of the Door Frame: Measure the depth of the door frame to ensure the new door fits snugly.
- Tip: Always measure the door opening at three different points—top, middle, and bottom—so you know if the frame is out of square. If you notice significant discrepancies, adjustments will be needed during installation.
Step 2: Remove the Old Door
Once you’ve gathered your measurements and your new door is ready, the next step in learning how to replace an exterior door is to remove the old one.
- Remove the Door: Start by using a screwdriver or drill to remove the screws from the hinges of the old door. Lift the door out of the frame carefully.
- Pry off the Trim and Frame: Use a pry bar to carefully remove the interior and exterior trim around the door frame. This will expose the rough opening. Make sure to remove any old caulking or sealant as well.
- Check for Damage: Inspect the rough opening for any signs of water damage, mold, or rotting wood. If you notice any issues, repair or replace the damaged areas before proceeding.
- Tip: If the old frame is in good condition and the new door fits, you may not need to replace the frame. However, replacing both the door and frame ensures a better fit and improved energy efficiency.
Step 3: Prepare the Rough Opening
Now that the old door and frame are removed, it’s time to prepare the rough opening for the new door installation.
- Clean and Level the Opening: Use a utility knife to clean off any old caulking or debris from the opening. Ensure the rough opening is level and plumb (straight) using a carpenter’s level.
- Apply Caulk: Before installing the new door, apply a generous bead of exterior-grade caulk to the bottom of the threshold and around the perimeter of the rough opening. This will help seal the door against drafts and moisture.
- Tip: If the rough opening is not level, use wood shims to correct the issue. Proper leveling is crucial for smooth door operation.
Step 4: Install the New Door
Now comes the most exciting part—how to install an exterior door. Follow these steps carefully for a perfect fit:
- Set the Door in Place: Lift the new door (with the frame attached) and position it in the rough opening. Have someone help you hold the door in place while you check for level and alignment.
- Shim the Door: Insert wood shims between the door frame and the rough opening on both sides and at the top to hold the door securely in place. Use a level to ensure the door is plumb on both the vertical and horizontal planes.
- Secure the Door: Once the door is level and the gaps are even, use screws to secure the frame to the rough opening. Drive screws through the hinges and the side jambs, making sure to screw into the studs for maximum stability.
- Adjust Shims: After securing the door, trim any excess shims with a utility knife. You want the shims to be flush with the frame for a clean finish.
- Tip: Always open and close the door during installation to ensure it swings smoothly. If there’s any resistance, make adjustments to the shims or hinges as needed.
Step 5: Seal and Insulate the Door
Now that the door is securely installed, the next step in learning how to install an exterior door involves sealing and insulating the frame to ensure energy efficiency and prevent drafts.
- Apply Caulk Around the Door Frame: Use exterior-grade caulk to seal any gaps between the door frame and the wall. This will block out drafts and prevent water damage.
- Add Insulation: If there are larger gaps between the door frame and the rough opening, fill them with expanding foam insulation. This will further improve energy efficiency.
- Install the Trim: Once the caulk and insulation have dried, reattach the interior and exterior trim around the door. This will give the installation a finished look and provide additional weatherproofing.
- Tip: Be cautious when using expanding foam insulation. Too much foam can cause the door frame to warp, making it difficult to open and close the door.
Step 6: Finishing Touches
With the new door securely installed, it’s time for the finishing touches to complete your door installation.
- Paint or Stain the Door: If your new door is unfinished, apply a coat of exterior-grade paint or stain to protect it from the elements. Be sure to follow the manufacturer’s recommendations for drying times between coats.
- Install Weatherstripping: To ensure a tight seal, install weatherstripping around the door's perimeter. This will block drafts, improve energy efficiency, and reduce noise from outside.
- Attach the Hardware: Install the door handle, lockset, and any additional hardware, following the manufacturer’s instructions. Test the lock and handle to ensure smooth operation.
- Tip: Use a door sweep at the bottom of the door to seal the gap between the door and the threshold. This will keep out drafts and debris.
Step 7: Test the Door
After all the installation steps are complete, the final step in learning how to replace an exterior door is to test its functionality.
- Check for Smooth Operation: Open and close the door several times to ensure it swings easily and closes securely. There should be no sticking, resistance, or uneven gaps.
- Check for Drafts: Hold your hand near the edges of the door on a windy day or use a draft detector to check for any air leaks. If you notice drafts, adjust the weatherstripping or add more caulking where necessary.
- Tip: Test the lock and handle for security. Ensure the deadbolt fully extends into the door frame for maximum protection.
Let's Replace Your Door!
Installing or replacing an exterior door is a valuable DIY project that can boost your home’s security, energy efficiency, and curb appeal. By following this step-by-step guide on how to install an exterior door and how to replace an exterior door, you can ensure a smooth and professional-looking door installation.
Let Alexandria Home Solutions help you achieve your vision. From door repairs to complete replacements, we'll ensure your exterior door is both functional and aesthetically pleasing.