Key Takeaways:
- Measure accurately: Ensure the new door fits perfectly by measuring the existing door and frame.
- Remove the old door: Unscrew the hinges and lift the door out of the frame.
- Prepare the new door: Cut, mark, and chisel the door for hinge installation.
- Install hinges and hardware: Attach the hinges to the door and frame, then install the handle and lockset.
- Finish and paint: Paint or stain the door to match your home's decor.
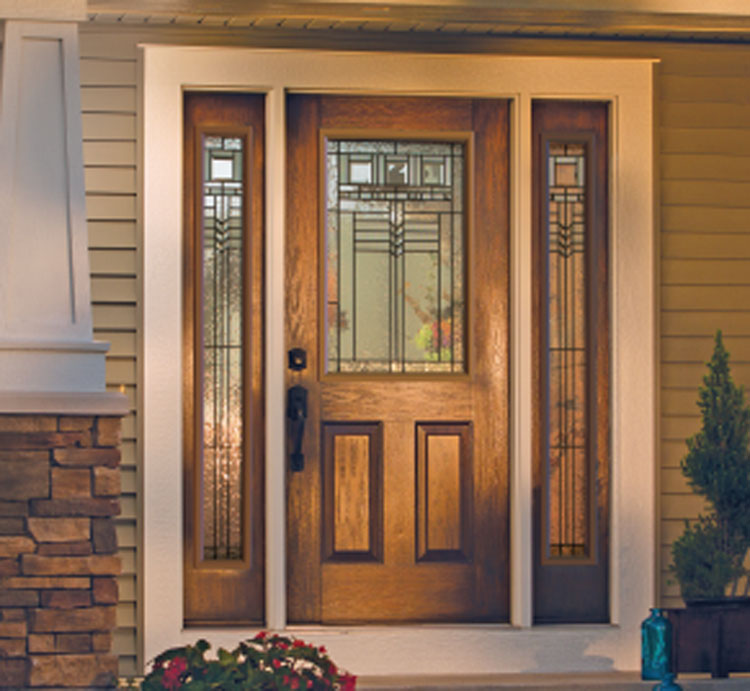
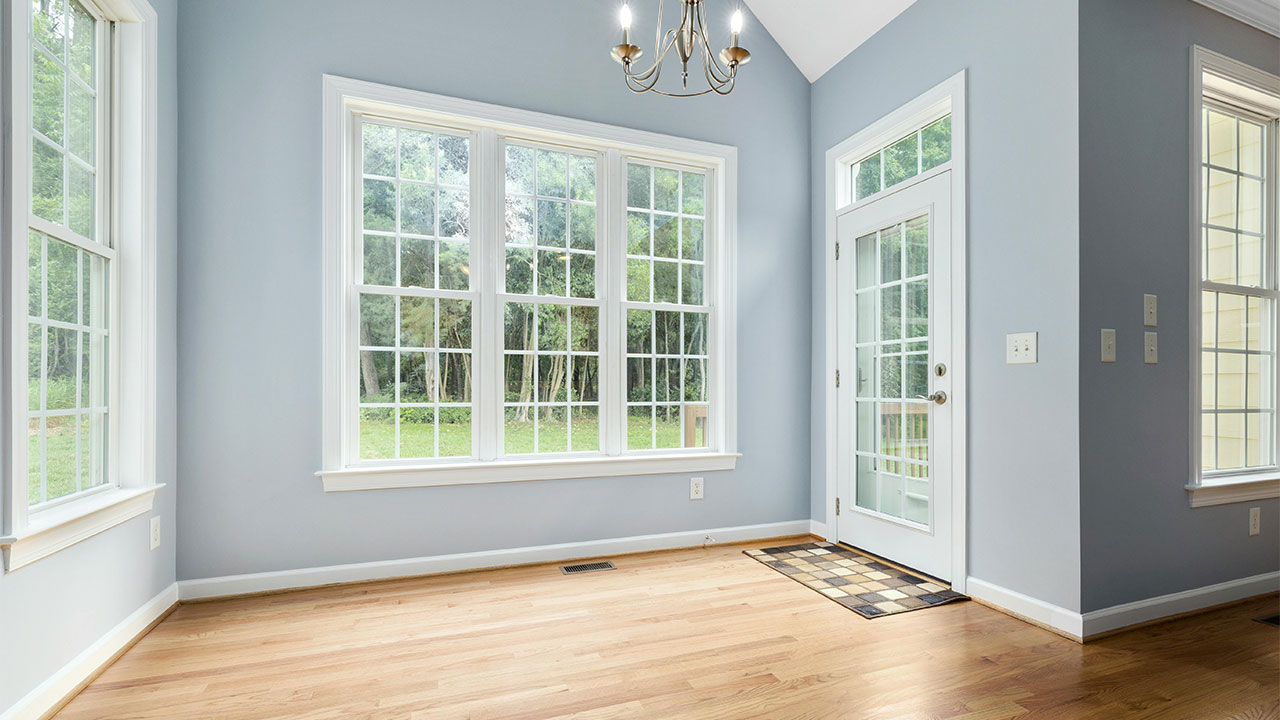
Replacing interior doors can dramatically change the look and feel of your home. Whether you’re updating to a new style, fixing a damaged door, or simply upgrading for better functionality, replacing interior doors is a great DIY project that can enhance both the aesthetics and value of your property.
The following key points are to be taken note of when replacing interior doors:
- Measuring Door
- Installing Hinges
- Door Handle
- Paint
With a little guidance and the right tools, you can handle this task yourself, saving money on professional labor costs. In this step-by-step guide, we’ll walk you through everything you need to know for a successful door installation.
Why Replace Interior Doors?
Before we get started, it's important to understand why replacing interior doors can be beneficial. Over time, doors can become outdated, damaged, or less functional due to wear and tear. A new door can improve soundproofing, increase privacy, and add to the overall style of a room.
Plus, it’s a relatively affordable way to give your home a fresh look. Whether you’re choosing a new design for a specific aesthetic or replacing a worn-out door, this project can make a noticeable difference.
Tools and Materials You’ll Need
Before beginning your DIY door installation project, gather the following tools and materials:
- New interior door
- Measuring tape
- Screwdriver or drill
- Hammer
- Level
- Chisel
- Wood shims
- Utility knife
- Wood screws
- Sandpaper
- Paint or stain (if needed)
- Hinges and door handle (if replacing)
Step 1: Measure the Existing Door
The first and most crucial step in replacing interior doors is to measure your existing door. Accurately measuring ensures that the new door will fit perfectly into the existing frame, avoiding any issues during installation.
- Measure the Height and Width: Use a measuring tape to determine the height and width of the existing door. Standard interior doors are usually 80 inches tall, but widths can vary (24, 28, 30, 32, or 36 inches).
- Check the Thickness: Most interior doors are 1 3/8 inches thick, but it’s essential to verify this measurement.
- Measure the Hinge Locations: Measure from the top of the door to the top of each hinge. This will help you place the new hinges in the exact spots.
- Determine the Swing Direction: Note whether the door swings inward or outward and whether it’s a right-hand or left-hand swing. This will guide you in selecting the correct door.
- Tip: Write down all measurements and double-check them to avoid any mistakes during the purchase and installation process.
Step 2: Remove the Old Door
Once you have your measurements and a new door ready, it’s time to remove the old one.
- Unscrew the Hinges: Begin by using a screwdriver or drill to remove the screws from the hinges. Start from the bottom hinge and work your way up to prevent the door from falling unexpectedly.
- Lift the Door Out of the Frame: With all screws removed, carefully lift the door out of the frame. You might need a helper for this step, especially if the door is heavy.
- Remove the Hinges from the Door Frame: If you’re planning to replace the hinges, remove them from the door frame as well. If not, ensure they are in good condition and match the new door.
- Tip: Keep the old door hardware (hinges, screws, etc.) in case you need it for future projects or as a backup.
Step 3: Prepare the New Door for Installation
Now that the old door is removed, it’s time to prepare the new door for installation.
- Cut the Door to Fit: If the new door is slightly larger than the opening, use a utility knife or saw to trim it down to size. Be sure to sand any rough edges for a smooth finish.
- Mark Hinge Locations: Based on the measurements taken earlier, mark the hinge locations on the new door. Use a pencil for easy erasing.
- Chisel Out the Hinge Mortises: Using a chisel carefully cut out the areas where the hinges will be mounted. The depth of the mortise should match the thickness of the hinge plate to ensure a flush fit.
- Tip: Take your time chiseling the mortises. A steady hand will help you avoid mistakes and ensure a professional-looking installation.
Step 4: Install the New Hinges
With the new door prepared, you’re ready to install the hinges.
- Attach Hinges to the Door: Position the hinges in the mortises you’ve chiseled out, ensuring they are perfectly aligned with the pencil marks. Secure the hinges with screws using a screwdriver or drill.
- Attach Hinges to the Frame: Once the hinges are securely fastened to the door, position the door in the frame. Align the hinges with the existing hinge locations on the frame, then screw them in place.
- Tip: It might help to have someone hold the door while you screw in the hinges to ensure proper alignment and prevent the door from falling.
Step 5: Test the Door Fit
After the door is attached to the frame, it’s time to test the fit and make any necessary adjustments.
- Check for Level and Alignment: Close the door slowly to check that it fits snugly within the frame without any gaps or rubbing. Use a level to ensure the door is straight.
- Adjust as Needed: If the door is not aligned properly, use wood shims to make adjustments. Insert the shims between the door frame and wall to correct any misalignment.
- Sand Edges if Necessary: If the door is rubbing against the frame, use sandpaper to shave down the edges for a smoother fit.
- Tip: A properly aligned door should close easily without any sticking or gaps. If adjustments are needed, make them gradually to avoid over-correcting.
Step 6: Install the Door Handle and Lockset
With the door properly aligned, it’s time to install the door handle and lockset.
- Mark the Handle Location: Measure and mark the location for the handle or knob, typically 36 inches from the bottom of the door.
- Drill Holes for the Handle: Use a drill with the appropriate bit size to create holes for the handle and lock mechanism.
- Install the Handle and Lockset: Follow the manufacturer's instructions to install the handle and lockset. Ensure everything is tightly secured and functions correctly.
- Tip: Test the handle and lock several times to ensure they work smoothly without any sticking or jamming.
Step 7: Finish and Paint (if Needed)
If your new door is unfinished, the final step in replacing interior doors is to paint or stain it to match your decor.
- Sand the Door Surface: Lightly sand the door to create a smooth surface for painting or staining.
- Apply Paint or Stain: Use a brush or roller to apply your chosen paint or stain. Be sure to follow the grain of the wood for the best finish.
- Let It Dry: Allow the door to dry completely before closing it to prevent any paint or stain from sticking.
- Tip: Apply at least two coats of paint or stain for a durable finish. Sand lightly between coats for a smoother appearance.
Replace Your Door Today!
Replacing interior doors is a straightforward DIY project that can make a big impact on your home's appearance and functionality. By following these simple steps and using the right tools, you can ensure a successful door installation that looks professional and lasts for years to come.
For expert guidance and inspiration, visit Alexandria Home Solutions today. Our team of home improvement professionals is here to assist you with everything from selecting the perfect door to mastering installation techniques. Let's create a stunning interior together.